Zone and Sequence
- General Overview
- Tips and Tricks
- Related Tools
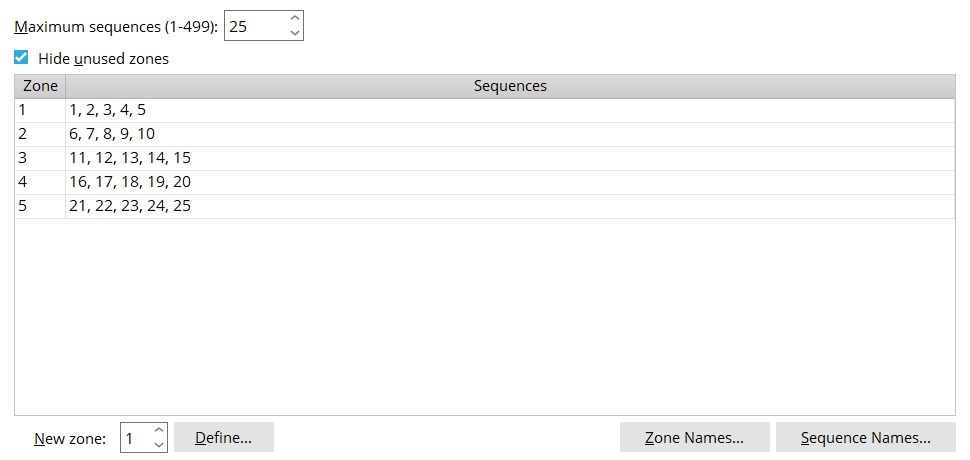
Maximum sequences (1-499): A positive, whole number from 1 to 499 that sets the number of sequences that the 3D model can be divided into. This also creates an equal number of zones. All sequences are automatically placed in zone 1 and can only be removed from zone 1 by assigning them in a different zone.
Example: If you type in 10 here, you will be able to assign any one of ten different sequences to individual members.
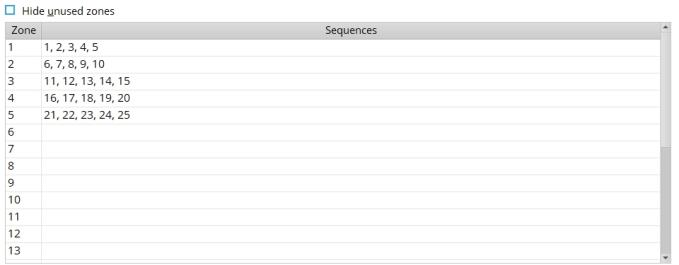
When this box is checked (
), only zones for which sequences have been Defined will be listed on the Zone and Sequence Table.
When the box is not checked (
), the number of Maximum sequences determines the number of zones listed on the Zone and Sequence Table, regardless of whether or not sequences have been Defined for them.

Zone and Sequence table: This table lists zones and their assigned sequences. The number of sequences shown here is limited by the Maximum number of sequences.
New zone and Define: A zone is a combination of sequences. These options allow you to define the number of sequences that are applied to a zone.
New zone: Use the ticker-buttons, or type in the zone number, or left-click the zone on the Zone and Sequence table that you want to assign sequences to (ref. Hide unused zones). The zone number must fall within the range of the Maximum sequences since it is not possible to have more zones than sequences.
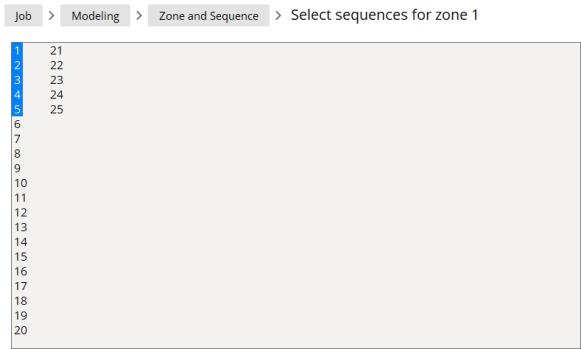
Define: Press the Define... button to open the Select sequences for zone xx screen. Select the sequences you want applied to the zone you entered, then press OK. The changes you made are reflected on the Zone and Sequence Table.
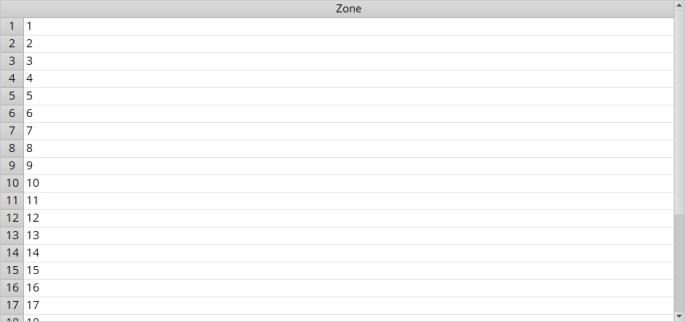
Zone Names... opens the Zone Names screen so that you can edit the name of zones that are listed (20 characters max.). Each zone is assigned its line number by default. Press the OK button to accept the changes made to this screen.
Sequence Names... opens the Sequence Names screen so that you can edit the name of sequences that are listed (20 characters max.). Each sequence is assigned its line number as its default name. Press the OK button to accept the changes made to this screen.


|
|
OK (or the Enter key) closes this screen and applies the settings.
Cancel (or the Esc key) closes this screen without saving any changes.
Reset undoes all changes made to this screen since you first opened it. The screen remains open.
- Red or yellow exclamation point icons
 or
or 
- Dividing a model into sequences/zones (topic)
- Break major marks apart by (related setup option)
- General status options > Zone (Status Display)
- General status options > Sequence (Status Display)
- Show Sequence (to check sequences in the model)

